Nightcaller Temple sits isolated on a peak overlooking Dawnstar, wrapped in mist and drenched in the dark influence of Vaermina, the Daedric Prince of Nightmares. It’s one of the more atmospheric dungeon crawls in Skyrim, tied to the “Waking Nightmare” quest and the acquisition of the Skull of Corruption, a unique Daedric artifact. But beyond the main questline, this temple is packed with alchemical loot, hidden lore, and a moral choice that’ll make you second-guess your follower situation.
Whether you’re hunting Daedric artifacts for the Oblivion Walker achievement or just curious about what’s causing Dawnstar’s insomnia epidemic, this guide covers everything: location, quest triggers, step-by-step navigation, combat strategies, loot tables, secrets, and the consequences of your final decision. Let’s immerse.
Table of Contents
ToggleKey Takeaways
- Nightcaller Temple is located directly south of Dawnstar and is only accessible during or after starting the ‘Waking Nightmare’ Daedric quest.
- The Skull of Corruption, a unique Daedric artifact staff, can only be obtained by killing Erandur before he destroys it, making it essential for the Oblivion Walker achievement.
- The temple features valuable alchemical ingredients including Nightshade, Deathbell, and Nirnroot, making it one of the best mid-game locations for stocking alchemy supplies.
- Your final choice at Nightcaller Temple determines whether you gain the Skull of Corruption artifact or recruit Erandur as a permanent essential mage follower.
- Combat encounters feature Orcish Invaders and Vaermina Devotees with distinct tactics: warriors deal heavy melee damage, archers require priority targeting, and mages should be interrupted with bash attacks.
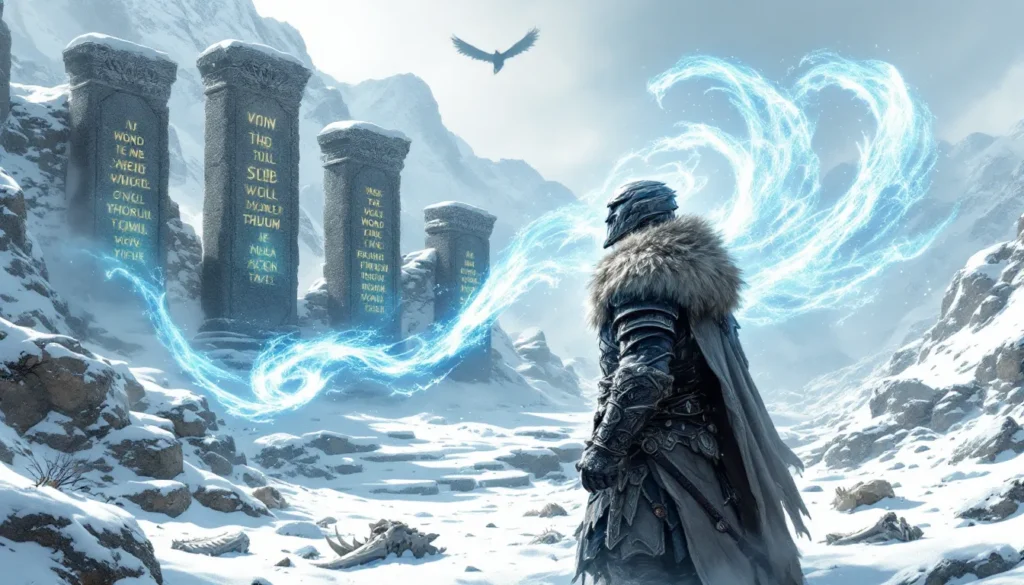
Where to Find Nightcaller Temple in Skyrim
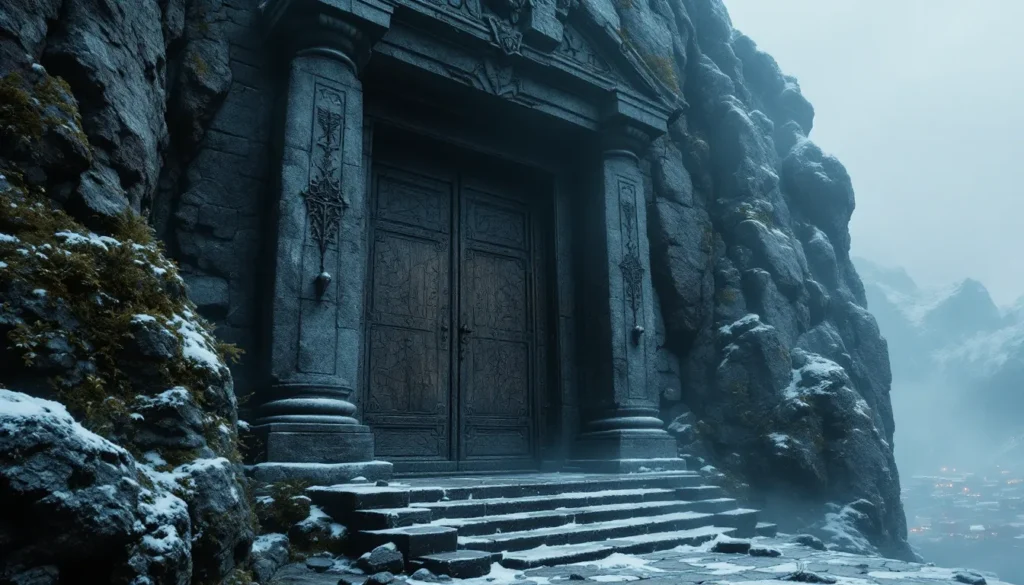
Nightcaller Temple is perched on a mountain directly south of Dawnstar, one of the northernmost cities in Skyrim. The easiest route is from Dawnstar itself, exit the town heading south and follow the winding path uphill. The temple entrance is set into the cliffside, marked by stone pillars and a heavy wooden door.
If you’re fast traveling, use Dawnstar as your destination and hoof it from there. There’s no closer map marker until you’ve discovered the temple itself. The climb takes about two minutes on foot, and you won’t encounter any enemies on the exterior path.
The temple is only accessible during or after starting the “Waking Nightmare” quest. Before that, the door remains locked with no way to pick or bypass it. Once the quest is active, the door opens freely and you can come and go as needed.
How to Unlock the Nightcaller Temple Quest
Starting ‘Waking Nightmare’ at Dawnstar
To unlock Nightcaller Temple, you need to trigger the “Waking Nightmare” Daedric quest. Head to Dawnstar and speak to any of the townsfolk, most will complain about horrific nightmares that have been plaguing the entire settlement. The innkeeper at the Windpeak Inn is a reliable source for this chatter.
Once you’ve heard the rumors, locate Erandur, a priest of Mara who’s investigating the nightmares inside the Windpeak Inn. He’s usually near the bar or wandering the ground floor. Talk to him and he’ll explain that the nightmares are the work of Vaermina and originate from Nightcaller Temple. Agree to help him, and the quest begins.
Erandur will become a temporary follower and guide you to the temple. You can bring your own follower along as well, Erandur won’t replace them. The quest is available at any level, though the temple’s enemies scale, so low-level characters should prepare accordingly.
Complete Walkthrough: Navigating Nightcaller Temple
Entering the Temple and Initial Exploration
Once inside, you’ll find yourself in a dimly lit entry hall. Erandur will pause to deliver some exposition about the temple’s history, it was once a monastery dedicated to Vaermina before being overrun by orcs decades ago. The dialogue is skippable if you’re in a rush, but it adds context.
The first chamber contains minor loot: a few potions on shelves, some gold coins, and a skill book (2920, Rain’s Hand, v4) on a pedestal to your right, which boosts your Destruction skill. Grab it before proceeding deeper.
Follow Erandur through the corridor. You’ll encounter your first enemies here, Orcish Invaders frozen in place by a magical barrier. They’re not hostile yet. Erandur explains they’ve been suspended in a dream state since the temple was sealed. Continue forward until you reach a locked gate. Erandur will mention you need to find another way around through the library.
The Library and Alchemy Laboratory
Take the left path to enter the Library. This room is a goldmine for alchemists. Shelves are stocked with rare ingredients like Nightshade, Deathbell, and Nirnroot, plus several potions of varying strength. Check the tables and corners, there’s often a soul gem or two tucked away.
Erandur will search for a book called The Dreamstride. Once he finds it, he’ll explain you need to drink Vaermina’s Torpor, a potion that will send you into a memory of the past. The potion is on a pedestal in the center of the library. Drink it when prompted.
Solving the Vaermina Puzzle and Torpor
After drinking the Torpor, you’ll be transported into the body of Casimir, a priest who was present during the original Orcish invasion. Your objective is to release the Miasma to stop the invaders, a toxic gas that will also trap everyone in the temple in an eternal sleep.
You’ll need to pull a chain to release the Miasma, but first you must navigate a simple puzzle. Head through the door and pull the chain on the left wall to open the gate ahead. Move quickly through the next chamber, there are pressure plates that trigger spike traps, though they’re easy to avoid if you stick to the sides.
Reach the chain at the far end of the chamber and pull it to release the Miasma. The memory will end and you’ll wake back in the library. The gate that was previously locked will now be open, allowing you to proceed.
Confronting the Orcish Invaders
Beyond the gate, the Orcish Invaders awaken from their magical stasis. You’ll face waves of Orcs in various classes, warriors with two-handed weapons, archers, and occasionally a mage. They’re hostile and aggressive, so be ready for combat.
Erandur fights alongside you, casting Destruction spells and providing a useful distraction. The Orcs are relatively straightforward enemies, no special mechanics or resistances. Use your preferred combat style and clear each room methodically. Players invested in dungeon exploration tactics will find this section familiar but well-paced.
The final chamber before the inner sanctum contains a locked chest (Adept-level) with leveled loot and a few more Orcs guarding the altar. Clear them out and prepare for the finale.
Enemies and Combat Strategy Inside Nightcaller Temple
Orcish Invaders: Tactics and Weaknesses
The Orcish Invaders are the primary enemy type you’ll face. They’re grouped into three archetypes:
- Orcish Warriors: Wielding greatswords or battleaxes, they deal heavy melee damage but are slow. Keep your distance or use shields to block their power attacks.
- Orcish Archers: Positioned on elevated platforms or in corners, they’ll pelt you from range. Prioritize them first or use cover to close the gap.
- Orcish Mages: Rare but dangerous, they cast Destruction spells and can heal themselves. Interrupt their casting with bashes or stagger effects.
Orcs have no special resistances, so fire, frost, and shock magic are all equally effective. Stealth archers can pick off isolated targets before engaging larger groups. Melee builds should focus on crowd control, shouts like Unrelenting Force or Ice Form are clutch for managing multiple enemies.
Vaermina’s Devotees and Cultist Threats
In the inner sanctum, you’ll encounter Vaermina Devotees, robed cultists who are more dangerous than the Orcs. They use Illusion and Destruction magic, often casting Fury spells to turn your followers or summoned creatures against you. Stay mobile and use magic resistance potions if you have them.
The Devotees also drop robes with decent enchantments (usually Magicka regeneration or Illusion cost reduction), so loot them after combat. They’re fragile compared to the Orcs, so aggressive offense works well here.
Unique Loot and Rewards at Nightcaller Temple
The Skull of Corruption: Daedric Artifact Reward
The Skull of Corruption is the main prize. It’s a staff-type weapon that drains enemies’ dreams to deal damage. The base damage is 20 points, but if you’ve harvested dreams from sleeping NPCs (by casting the staff’s secondary effect on them), the damage increases to 50 points per shot with an area-of-effect explosion.
To harvest dreams, aim the staff at any sleeping NPC and hold the cast button. You can store up to five dreams at a time. It’s a gimmicky weapon, fun for roleplaying a Vaermina cultist, but not meta for endgame content. Still, it counts toward the Oblivion Walker achievement, so don’t skip it if you’re trophy hunting.
Note: You only receive the Skull if you kill Erandur during the quest’s final moment (more on that below).
Alchemical Ingredients and Potions
Nightcaller Temple is one of the best mid-game locations for stocking up on alchemy supplies. The library and laboratory sections contain:
- Nightshade (×8): Damage Health, Damage Magicka Regen
- Deathbell (×6): Damage Health, Ravage Stamina
- Nirnroot (×3): Damage Health, Fortify Health
- Blue Mountain Flower (×5): Fortify Health, Fortify Conjuration
- Various potions: Healing, Magicka, Stamina, and Resist Magic potions are scattered on tables and shelves.
If you’re leveling Alchemy, grab everything. The Nightshade alone is worth the trip, it’s a key ingredient for powerful poisons.
Gold, Gems, and Enchanted Equipment
Beyond consumables, you’ll find:
- ~800-1200 gold scattered in chests, urns, and enemy loot
- Soul gems (mostly Petty and Lesser, one Greater in the inner sanctum)
- Enchanted equipment: The Orcish Invaders drop leveled weapons and armor, occasionally with enchantments. The Devotees drop enchanted robes.
- Skill books: Plus to the Destruction book near the entrance, there’s a Conjuration skill book (The Doors of Oblivion) on a shelf in the inner sanctum.
The loot isn’t groundbreaking, but it’s respectable for a mid-level dungeon. Many players exploring ancient Nordic ruins will find Nightcaller Temple’s rewards comparable in value and variety.
Hidden Secrets and Easter Eggs in Nightcaller Temple
Nightcaller Temple doesn’t have as many Easter eggs as some other dungeons, but there are a few neat details:
The Dreamer’s Journal: In the library, there’s a book titled Journal of the Dreamer that recounts Casimir’s final thoughts before releasing the Miasma. It’s not a skill book, but it adds lore flavor.
Hidden chest behind the altar: In the inner sanctum, behind the Skull of Corruption’s pedestal, there’s a hidden alcove with a Master-locked chest. It contains leveled loot, often an enchanted weapon or jewelry piece. Worth picking if your Lockpicking is high enough.
The frozen tableau: Before you drink the Torpor, take a moment to examine the frozen Orcs and Devotees. Their positioning tells a story, you can see priests fleeing, Orcs mid-swing, and one Devotee frozen while casting a spell. Bethesda’s environmental storytelling shines here.
Vaermina’s statue: The large statue of Vaermina in the inner sanctum has glowing eyes. If you stand directly in front of it and wait, you’ll hear faint whispers in the ambient audio. It’s creepy and well-done, though it has no gameplay effect.
Players who enjoy hunting obscure game details often rank Nightcaller Temple as one of the more atmospheric Daedric quest locations, even if it’s mechanically simpler than others.
Alternative Outcomes: Should You Kill Erandur?
Letting Erandur Destroy the Skull
At the quest’s climax, Erandur will approach the Skull of Corruption and begin a ritual to destroy it. The ritual takes about 20 seconds of uninterrupted channeling. If you let him finish, he’ll destroy the Skull permanently, and you’ll receive no Daedric artifact.
The upside? Erandur becomes a permanent follower. He’s a competent mage with strong Destruction and Restoration skills, and he’s one of the few followers who can’t be killed by enemies (he’s marked essential after the quest). If you’re not interested in the Oblivion Walker achievement and want a solid magic-focused companion, this is a valid choice.
Killing Erandur for the Skull of Corruption
If you want the Skull of Corruption, you need to kill Erandur before he completes the ritual. As soon as he begins channeling, you’re free to attack him. He won’t defend himself and will die in a few hits.
Once he’s dead, loot his body (he usually carries some gold and a few potions) and take the Skull from the pedestal. Vaermina will speak to you, congratulating you on your choice and granting you the artifact.
This is the only way to obtain the Skull, and it’s required for the Oblivion Walker achievement (you need 15 Daedric artifacts to unlock it). The tradeoff is losing Erandur as a follower, but there are plenty of other companions in the game.
Recommendation: Kill Erandur if you’re achievement hunting or collecting Daedric artifacts. Spare him if you value followers more than trophies. There’s no “wrong” choice here, it’s purely based on your playthrough goals.
Common Issues and Troubleshooting Tips
Erandur won’t move or talk: This is a rare scripting bug. Try fast traveling away from the temple and returning, or reload a save from before entering. If he’s stuck in the library, try waiting 24 in-game hours.
The Torpor potion won’t activate: Make sure you’re standing close to the pedestal and have cleared all dialogue with Erandur. If it still won’t trigger, reload an earlier save, this bug is uncommon but documented on community forums.
Orcish Invaders won’t aggro: If the Orcs remain frozen after the gate opens, try leaving the cell (exit the temple entirely) and re-entering. The scripted event should reset.
Can’t loot the Skull after killing Erandur: The Skull should appear on the pedestal after Erandur dies. If it doesn’t, wait a few seconds, sometimes the script has a short delay. If it still doesn’t appear, reload a save from before killing him.
Quest won’t start in Dawnstar: Make sure you’re at least level 10 (though the quest can trigger earlier, some players report issues below this threshold). Talk to multiple NPCs in Dawnstar, sometimes the innkeeper won’t initiate dialogue, but the Jarl or other townsfolk will.
For persistent issues, the modding community has unofficial patches that fix most quest bugs in Skyrim’s Special Edition and Anniversary Edition builds.
Conclusion
Nightcaller Temple delivers one of Skyrim’s more memorable Daedric quests, blending lore, atmosphere, and a genuine moral dilemma. The dungeon itself isn’t mechanically complex, but the Torpor sequence and the final choice between artifact and follower add weight to the experience. Whether you’re collecting Daedric artifacts, farming alchemy ingredients, or just exploring every corner of Skyrim, this temple is worth the climb.
The Skull of Corruption won’t revolutionize your loadout, but it’s a solid novelty weapon and essential for completionists. And if you’d rather have a capable mage follower, Erandur fills that role admirably. Either way, Dawnstar can finally get some sleep.